You can receive email on your domain using our Email Forwarding service. We offer it at no extra cost. Forwarding will direct email to a mailbox or mailboxes that you already have.
If you need a small number of mailboxes on your domain, you can use Pair Mail Pro to add one, three, or five mailboxes. If you need more than five, we recommend using a Pair Networks web hosting account for email. The website can be hosted anywhere and the email can be handled on the account. Please see our Knowledge Base pages for these email options:
Directing email to other providers can be handled by adding Custom DNS records. Please contact us if you need help finding the records or creating them.
You can move your domain to a new hosting provider without transferring the registration. If you want to move the hosting while keeping the domain with us, your web host can provide name servers to use on your domain. After you have the name servers, you can follow these steps to update them:
Replace the current name servers with the new name server host names, and click Change NS.
If you want to transfer the registration away from Pair Domains, you will need to start the transfer with your new registrar. Before starting the transfer, please make sure that you have the Transfer Authorization Code and that you stop automatically rejecting outbound transfers:
Uncheck the box labeled Transfer Protection is ON, and click Update Protection. If you already see Transfer Protection is OFF, then you do not need to change the setting.
Please Note: If a domain currently uses DNSSEC on our name servers, DNSSEC should be disabled before transferring.
.UK Transfers
If you want to transfer a .uk registration away from us, you will need to know the Registrar Tag ID of the new registrar. Please contact the registrar to get the Tag ID. Once you have it, you can follow these steps:
If you need mailboxes for your domain, they can be set up through a web hosting account from Pair Networks, Inc. The email can be hosted at Pair Networks and the website can be hosted elsewhere.
Pointing Email to Pair Networks
You can point email to your Pair Networks web hosting account by setting some DNS records. Before making any changes, make sure that you have the MX record for the domain. Please contact us if you need help finding the record.
When you have the record, you can follow these steps to add it to your domain:
If Custom DNS is already on, click Edit DNS. If Custom DNS is not on, click Use our DNS, and confirm changing the name servers.
Select MX from the Add New Record menu, enter this information, and click Add Record. Host Name: @ Priority: 50 Mail Server: Enter the mail server provided by Pair Networks
Select CNAME (Parking) from the Add New Record menu, enter this information, and click Add Record. Alias: mail IP Address: Enter the mail server provided by Pair Networks
If Custom DNS is already on, click Edit DNS. If Custom DNS is not on, click Use our DNS, and confirm changing the name servers.
Click Add New Record.
Select TXT from the Add New Record menu, enter this information, and click Add Record.
Host Name: @ Text: Enter the text record requested in the Office 365 set up. It should look something like MS=msXXXXXXXX
Next, log in to Office 365 and verify that they see the TXT record. When they verify the record, they will provide you with the MX record to use. Then you can return to the Custom DNS interface to add that record, and additional records that Microsoft recommends.
Select MX from the Add New Record menu, enter this information, and click Add Record.
Host Name: @ Priority: 0 Mail Server: Enter the record requested in the Office 365 set up
Select CNAME (Parking) from the Add New Record menu, and click >> More three times (five times if you use Mobile Device Management (MDM)).
Enter this information:
Alias: autodiscover Points To: autodiscover.outlook.com
Alias: lyncdiscover
Points To: webdir.online.lync.com
Alias: msoid Points To: clientconfig.microsoftonline-p.net
Alias: sip Points To: sipdir.online.lync.com
If you use Mobile Device Management (MDM), enter two more records. If you do not use MDM, you can skip these two records
Alias: enterpriseregistration Points To: enterpriseregistration.windows.net
Alias: enterpriseenrollment Points To: enterpriseenrollment.manage.microsoft.com
Click Add Records.
Select TXT from the Add New Record menu, enter this information, and click Add Record.
Please Note: Microsoft’s documentation suggests using -all instead of ~all. We recommend starting with ~all until you confirm email works. After you confirm, you can switch to -all
Select SRV from the Add New Record menu, enter this information, and click Add Record
If you do not remember your account name or password, you can enter your domain in our password reset form. This will send an email to the Account Contact email address. The email will include the account name and a single-use link to set a new password.
To keep your account secure, we can only send the password reset email to the Account Contact email address.
After you set a new password, you can follow these steps to change the password:
Select Account Settings from the drop-down navigation menu.
Enter the current password, new password, and confirm the new password.
Click Change Password.
If the Account Contact Email Address Does Not Work
If you don’t remember your password and the Account Contact email address will not work, we will need to verify your identify before we can send the login information to another email address.
Depending on the circumstances, we may require documentation and/or phone verification in order to change the Account Contact email address. Please contact us for more information.
If you are not using our Custom DNS, skip to Step 5. If you are using our Custom DNS, click Edit DNS.
Click Turn Off Custom DNS, and confirm that you want to turn it off.
Replace the current name servers with the new name server host names, and click Change NS.
Please Note: you only need to enter the name server host names. If you enter an IP address, you will see an error message.
When you turn off Custom DNS, our name servers will keep the records active for one week. This will help prevent any downtime caused by propagation of DNS changes.
Weebly is a first tier site builder that is available at no additional cost for any domain registered with us. You don’t need to know anything about building websites and you don’t have to install any software. You can have your website up in minutes using a powerful drag and drop web site builder with amazing pre-built themes.
We offer several plan levels, but the default that is available to everyone at no extra cost is the Included Plan. You can create up to five pages, and use an integrated shopping cart for up to five different products. There are no bandwidth fees or storage fees.
If you need more pages or more options, you can view information about the other plans on our website.
You can also watch some tutorial videos in the Pair.com Youtube Channel.
The steps to launch Weebly will be a little different, since the steps in the videos are for pair.com Weebly hosting plans. The steps to launch Weebly for Pair Domains are below.
Launching Weebly
To use Weebly, you don’t need to sign up for a new account, you can just log into your Pair Domains account:
Under the Add a New Site section, select the domain you want to use, and click Get Started
Select to use the Included plan, and click Continue
Click the name of the site from Step 2
Click Launch Weebly Builder
As long as you did not uncheck Keep Old Site Active in Step 3, your current website will stay active until you are ready to make your Weebly site active.
First Launch
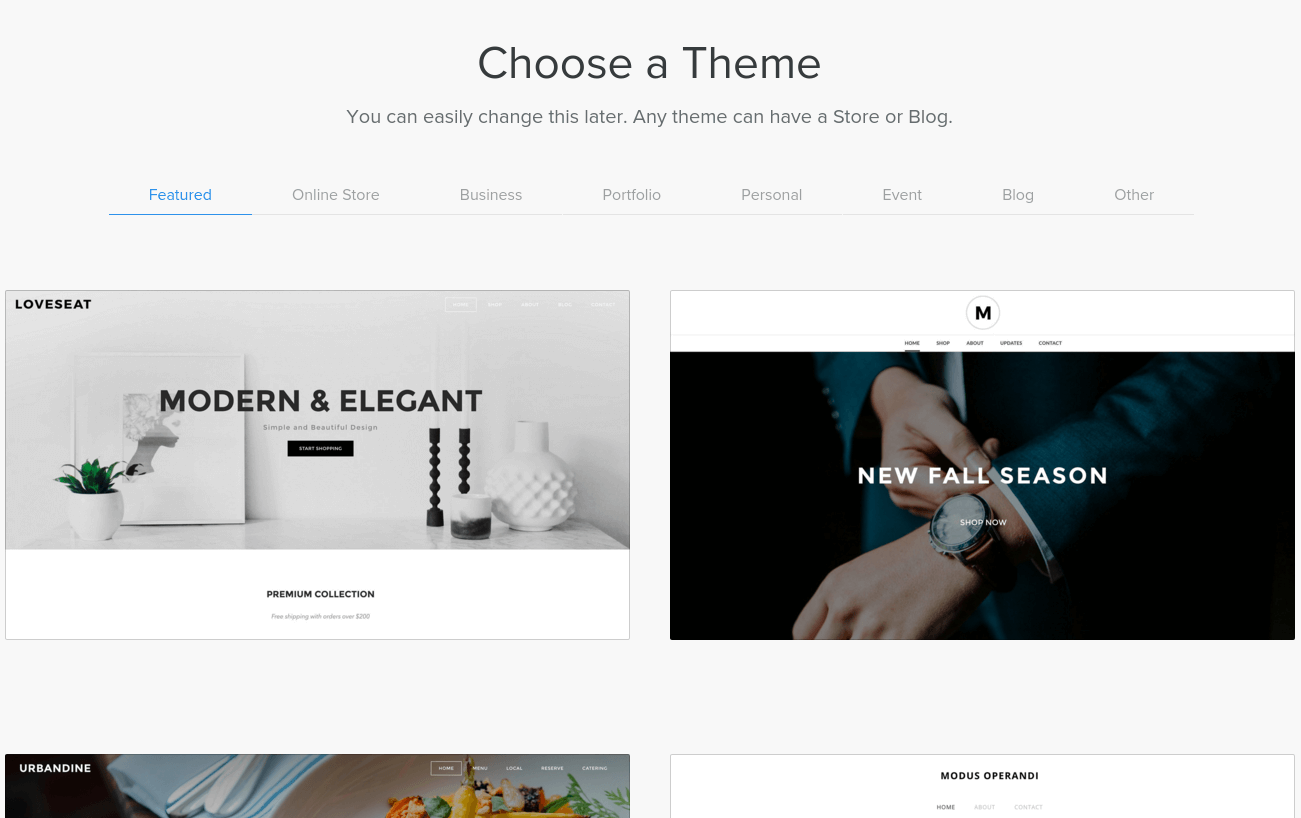
The first time the Site Builder is launched, you will be prompted to choose a Theme. A Theme is a template for the layout, navigation, and appearance for a site. You can change images, texts, colors, and other attributes of a theme. Themes are tailored for the type of site you are building, and there are a few categories of Themes:
Featured
Online Store
Business
Portfolio
Personal
Event
Blog
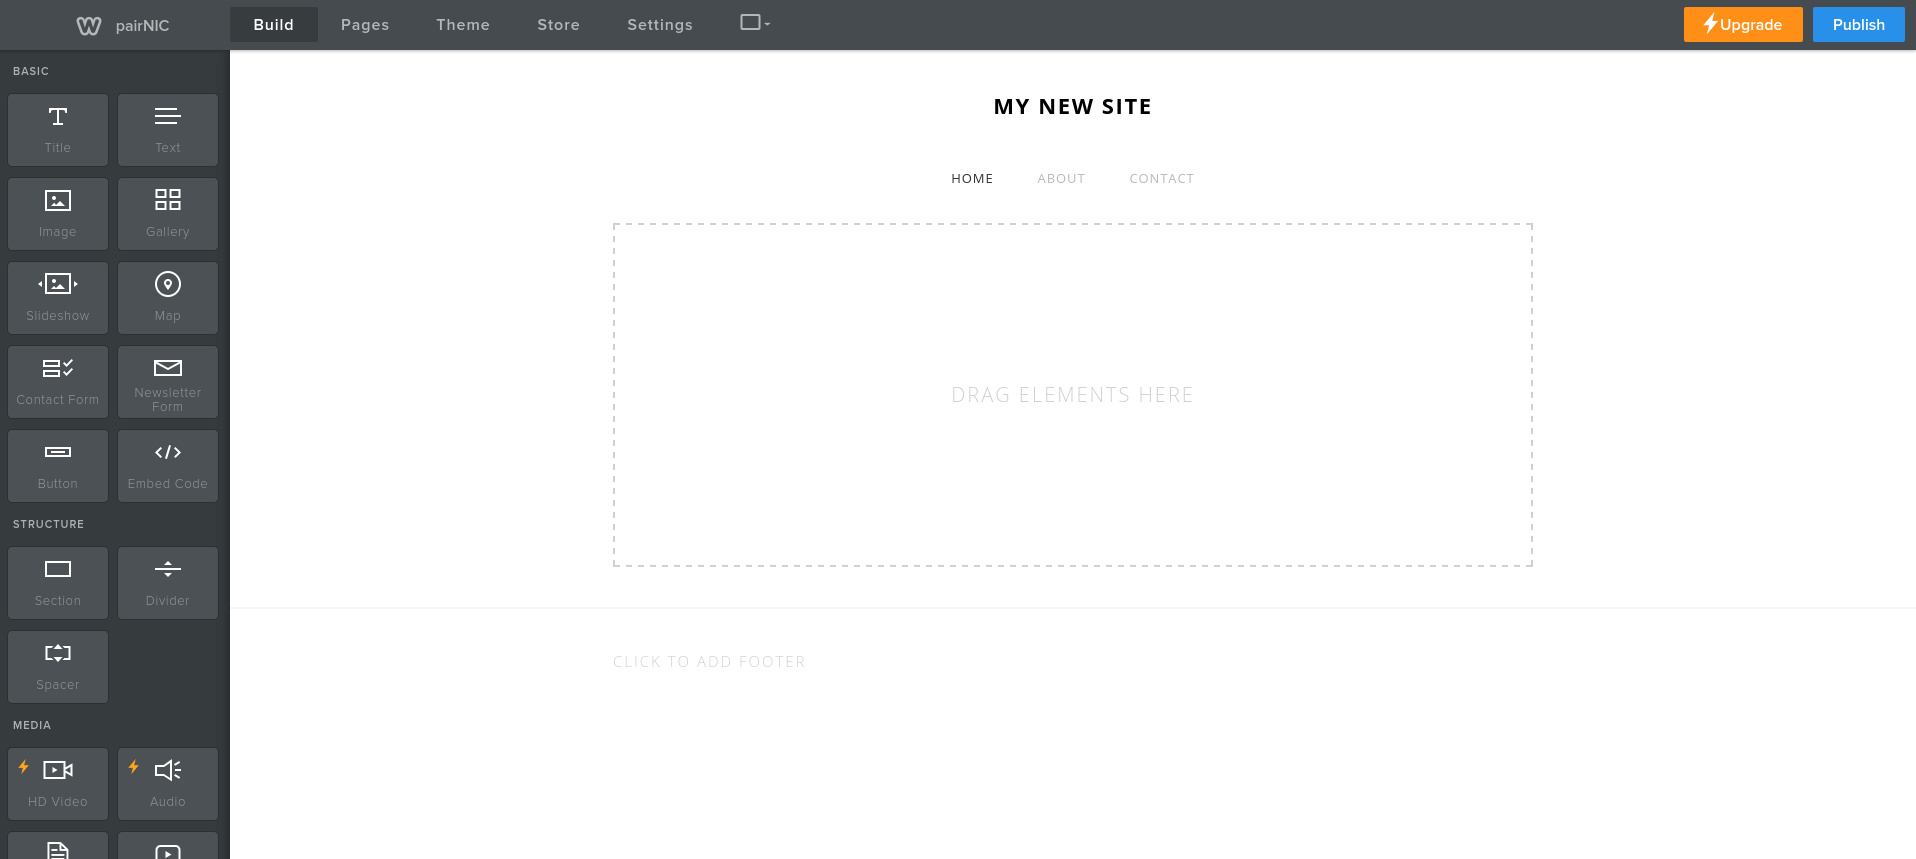
Once you select a theme, an editable preview of your site is shown, with menus at the top of the page and on the left of the page.
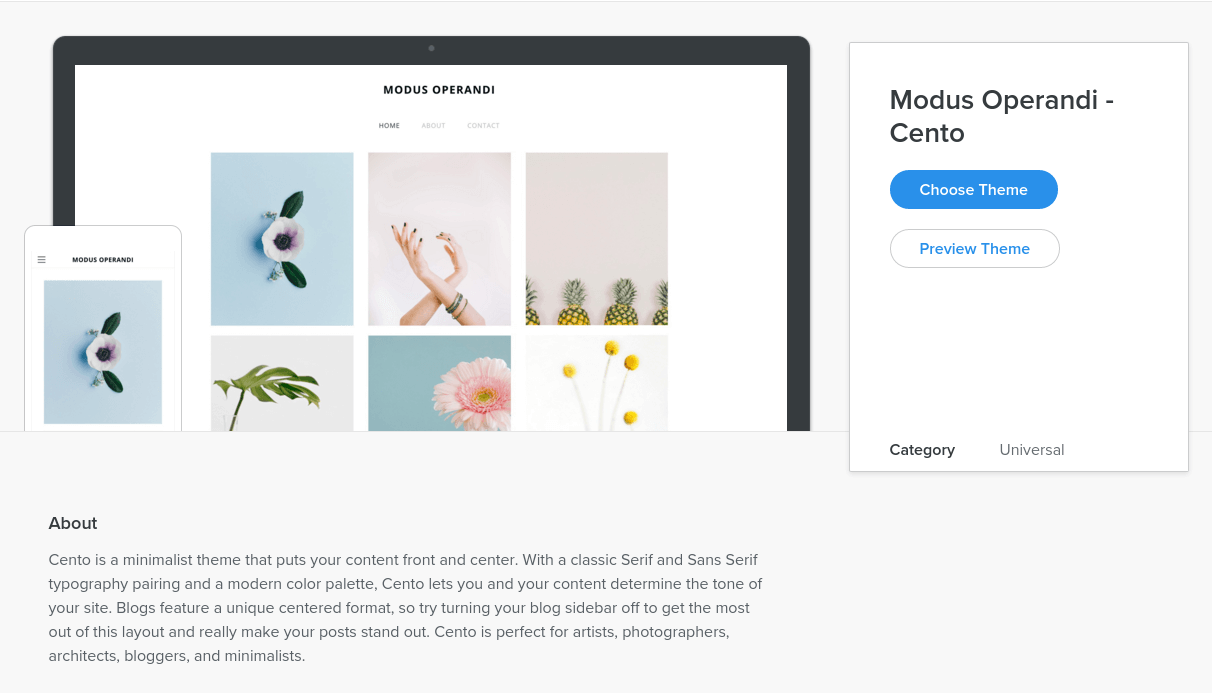
For example, we started with the Modus Operandi – Cento theme. The Title of the page is your domain. You can change it by clicking the title and changing the text.
Underneath is the site menu, which lists the pages that make up your site. You can add, delete, or change the menu by clicking the Pages tab from the top menu.
Below the site menu is the content area. To add content, you can drag and drop content from the menu on the left.
If you want to add text to this section, you can drag the Text button to the highlighted area. You can then enter the text at the cursor. If you want to move the text, you can hover your mouse over the text area to move or delete it.
To edit the text, click the Click here to edit and a cursor will appear. Similar to the title, click outside the area to stop editing it.
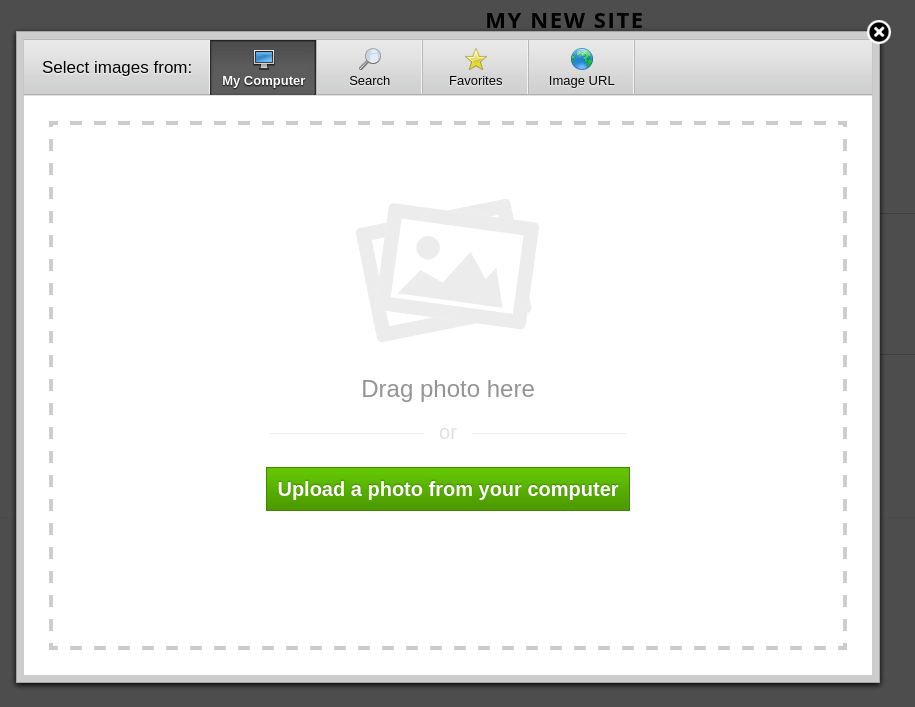
To add an image, you can drag Image from the left menu. Then you can click Upload Image to upload from your computer.
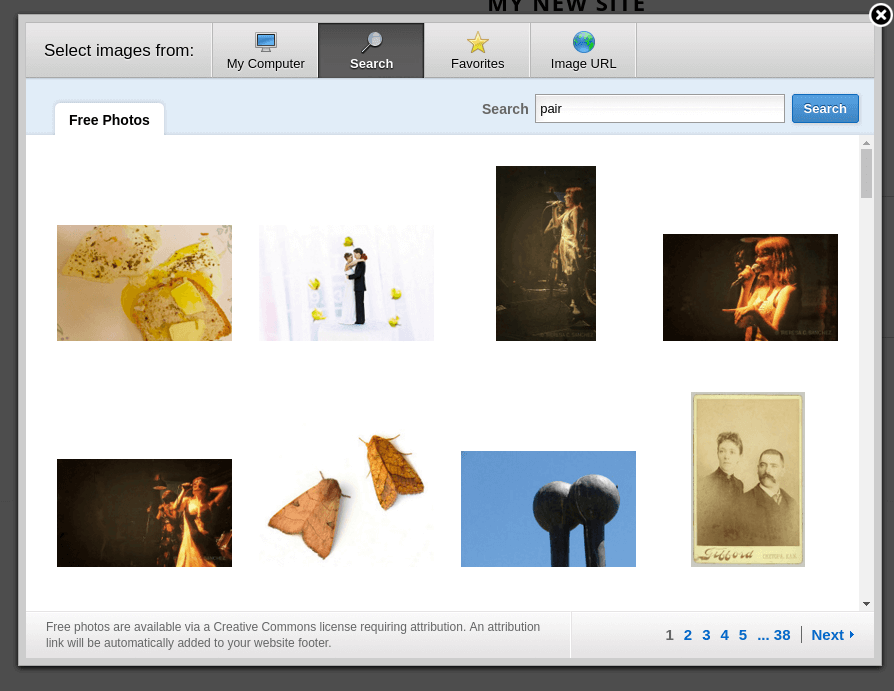
Weebly also provides some stock photos that you can use. To see them, click the Search tab and then search the type of image you are looking for.
If the image is one you may want to reuse on sections of your site, you can hover your mouse over the image, then select Add to Favorites. You can then click on the Favorite tab to access this image more easily.
Finally, if you have already uploaded the image online and know the URL, you can reference it from here. When the site is published, though, the image will be uploaded under the Web space associated with your site.
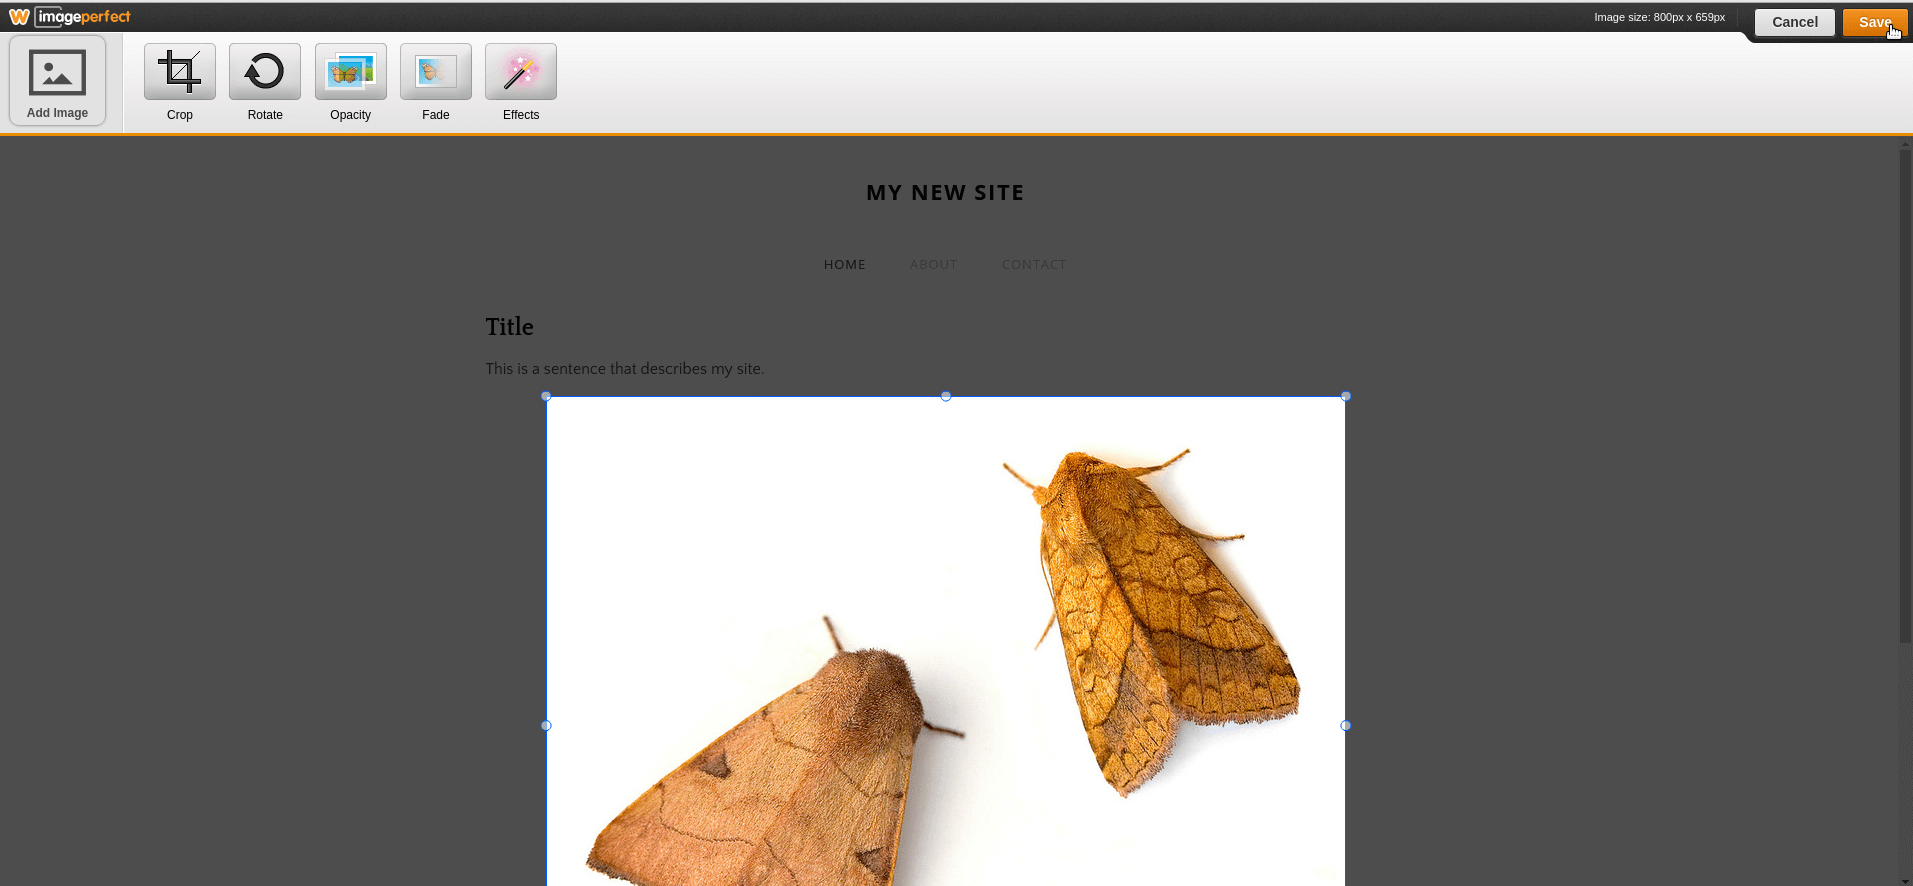
After an image is uploaded or added, you can click it to change attributes. You can click Edit image to crop, rotate, or add image effects.
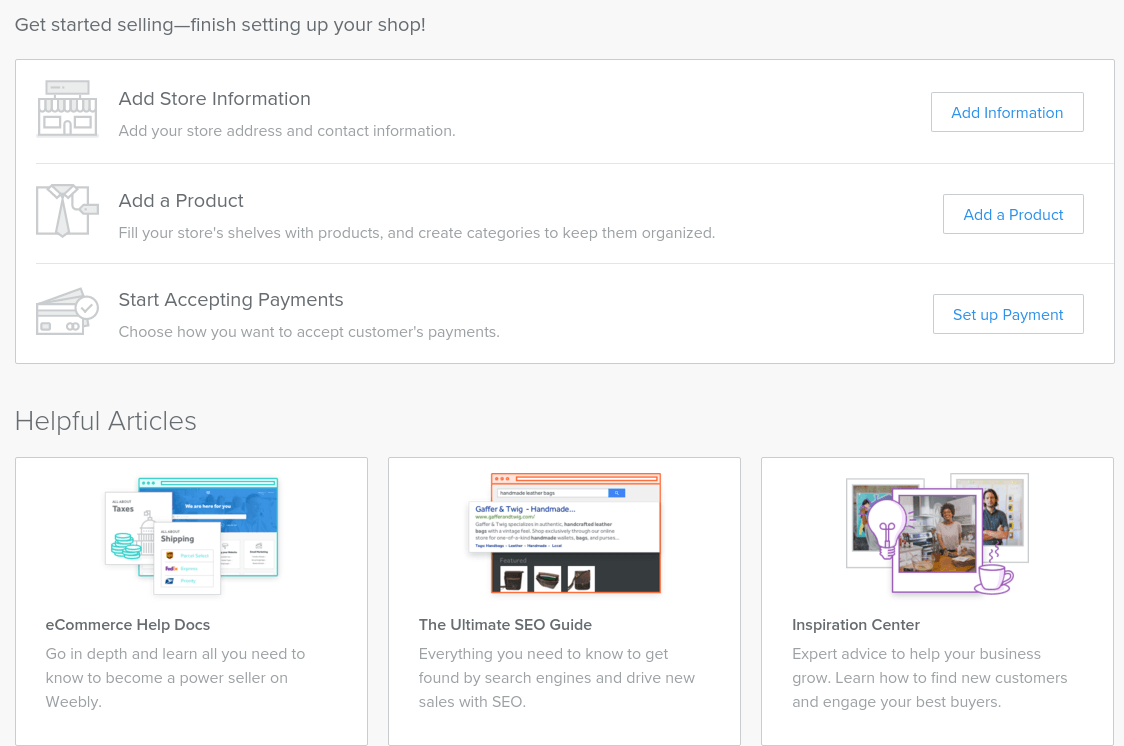
If you need to set up an online store, you can add store information, products, and payment information from the Store tab at the top of the window.
Weebly saves your changes while you work, so you don’t need to click any Save buttons.
When you are ready to publish your site for the first time, you can click Publish. Then return to your Pair Domains account and view the Weebly Site Settings page for your domain. Select Activate from the Status menu, and click Save. You will see a warning message noting that name servers for your domain will change. If you never set up name servers for it, you don’t need to worry about this. However, if you previously had web hosting or email set up for your domain, please contact us so we can help to make sure your email doesn’t stop working when you Activate the site.
After you Activate the site, the Weebly site will be live. If you make future changes in Weebly, then you can click Publish in the Weebly Site Builder or Re-publish Site in our Weebly Site Settings page.
We currently accept payment by credit card, debit card, and PayPal. The types of cards we accept are American Express, Diner’s Club, Discover, MasterCard, and Visa.
Automatic Renewal requires saving a credit card or debit card. Automatic Renewal cannot be made with PayPal. If you want to renew with PayPal, you can manually renew.
We offer Email Forwarding, which allows email sent to your domain to be delivered to mailboxes that you already have. There is no additional cost to use Email Forwarding, and you can create as many forwarding addresses as you want to. Email will be filtered before it is forwarded.
Please follow these steps to turn on Email Forwarding:
If Custom DNS is already on, click Edit DNS. If Custom DNS is not on, click Use our DNS, and confirm changing the name servers.
Click Forwarding.
Click Add Email Forwarding.
Select and fill in the forwarding information, and click Add Forward.
Read the page, and click Return to Email Forwarding.
Repeat steps 7 and 8 for any additional email forwards.
Please note, turning on Email Forwarding will cause your name servers to be changed to Pair Domains name servers.
The first time a Destination Email Address is entered, the address will need to be approve the forwarding. After an address is approved, you will not need to approve it again on the same account.