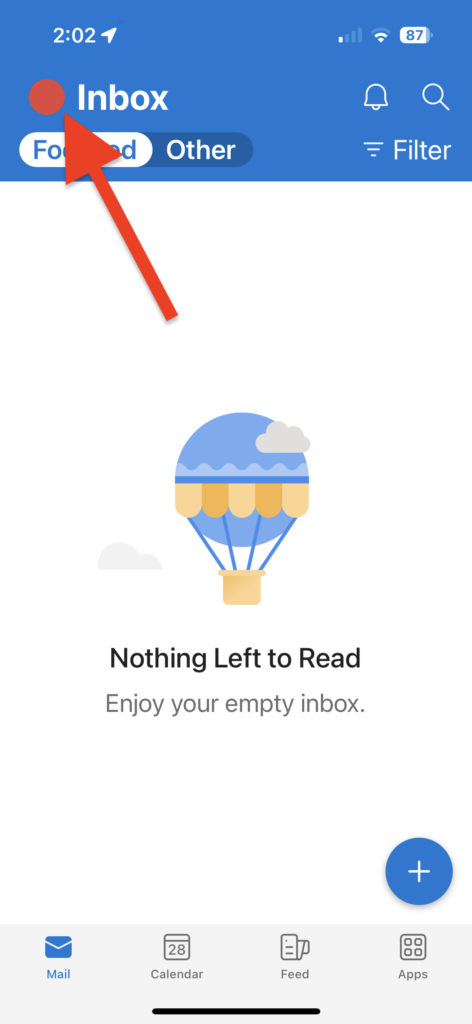
You can use Pair Pro Mail to automatically forward email to another address. Please follow these steps if you want to set up Forwarding in Pair Pro Mail:
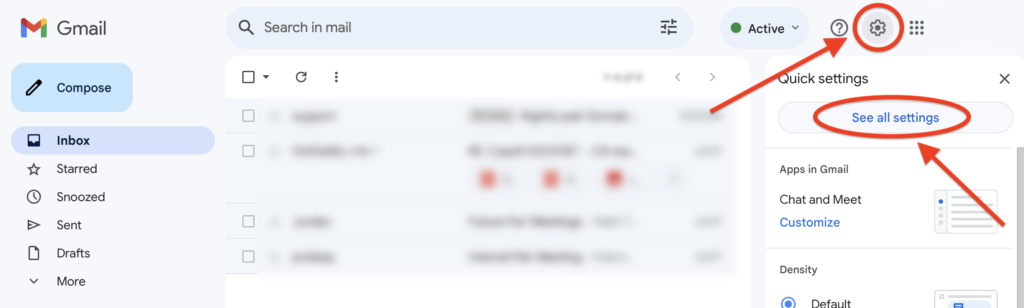
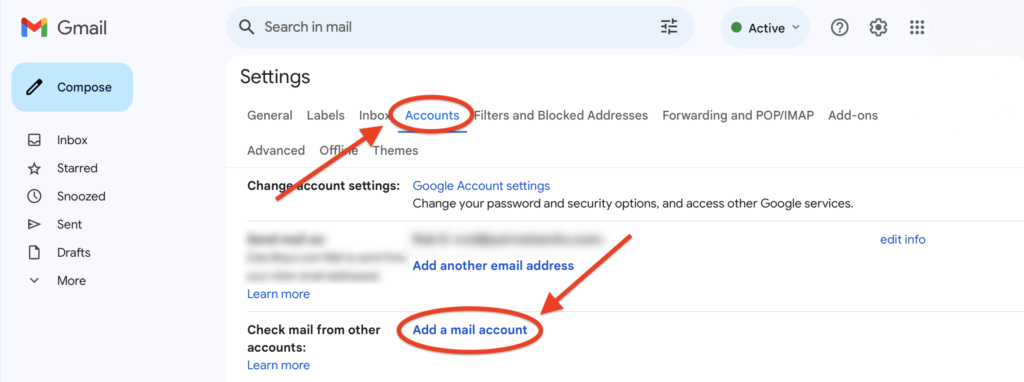
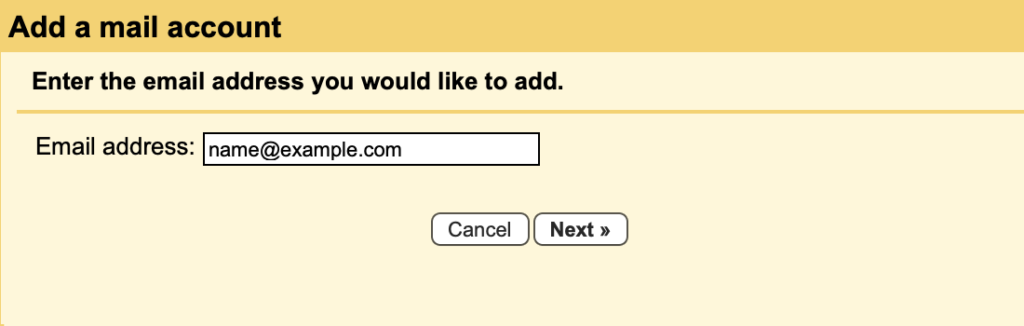
5. Next to Check email from other accounts, click Add a mail account
6. Enter the email address for your Pair Pro Mail box, and click Next
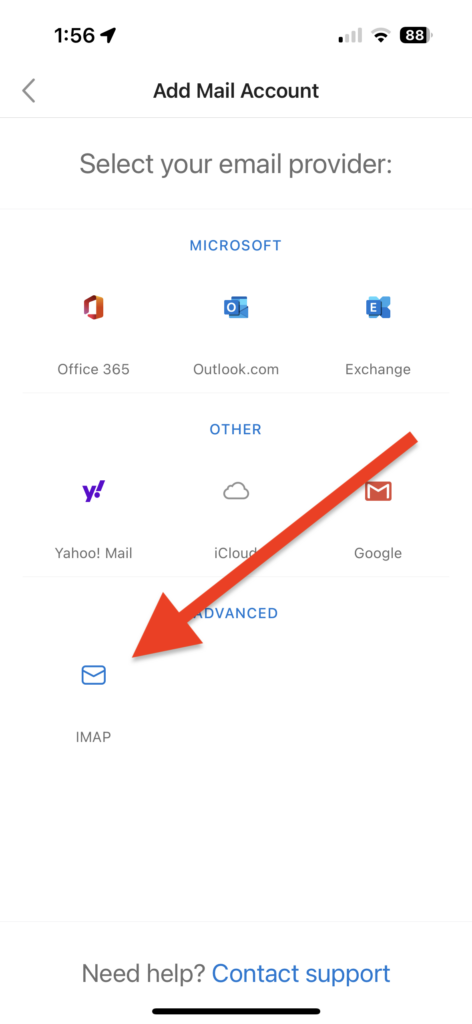
7. Enter the following information:
Username
This is the email address for the mailbox
Password
This is the mailbox password
POP Server
pop.pairpromail.com
8. Select Port 995
9. Check the box next to Always use a secure connection (SSL) when retrieving mail
10. Click Add Account
11. Select Yes, I want to be able to send mail as [custom email], and click Next
12. Enter the name you want to appear next to your address when you send email
13. Check the box next to Treat as Alias, and click Next Step
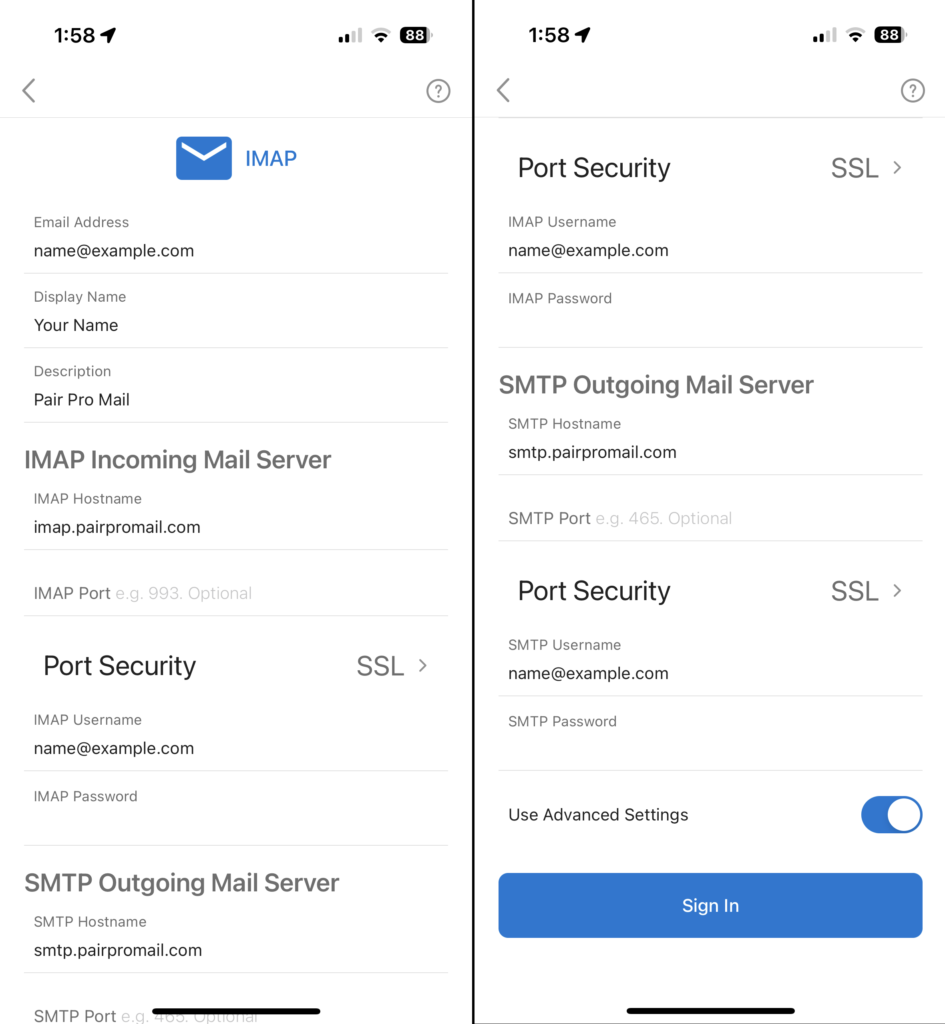
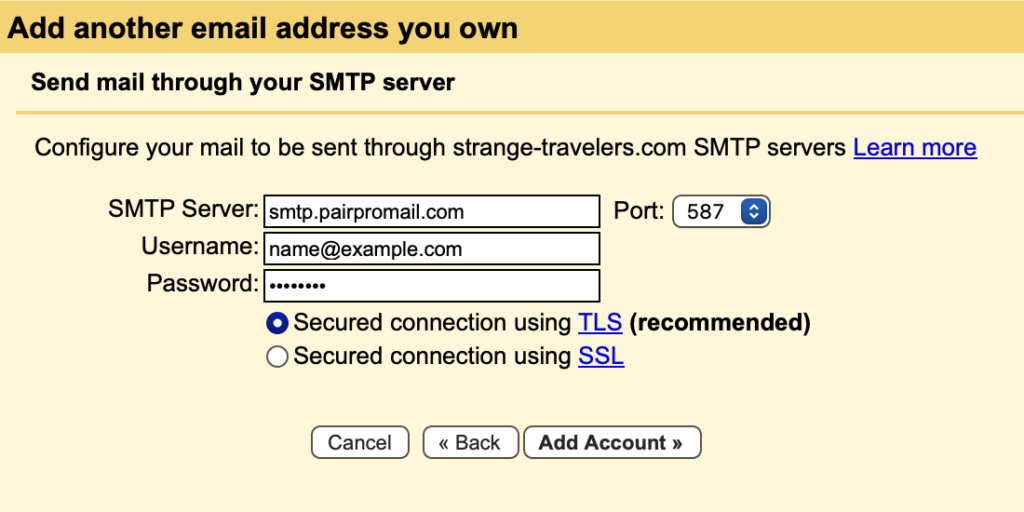
14. Enter the following information:
SMTP Server
smtp.pairpromail.com
Username
This is the email address for the mailbox
Password
This is the mailbox password
15. Select Port 465 or 587, and click Add Account
16. You will be asked to confirm your custom email address. To check your mailbox, log in to Webmail at pairpromail.com using your mailbox credentials. You should see a message with the subject Confirmation – Send Mail as [your email address]. The message has a confirmation code. Enter the code in the confirmation box at Gmail, and click Verify
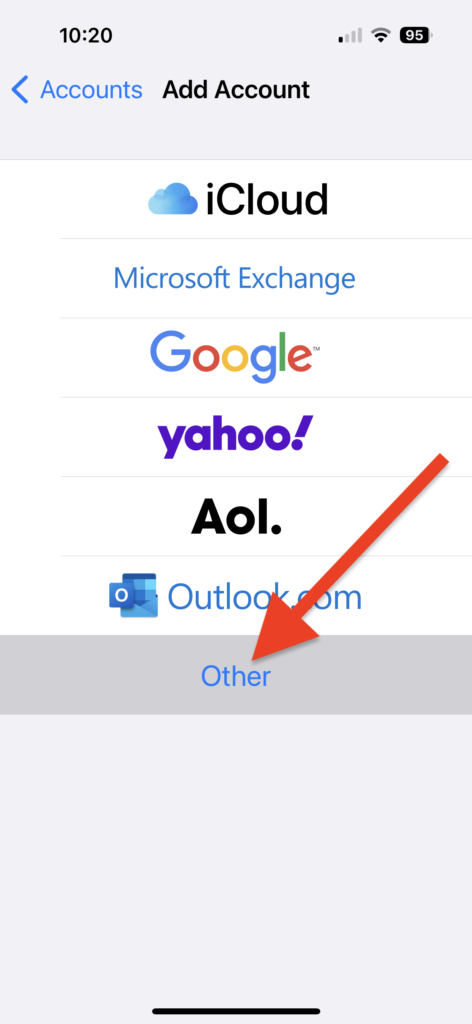
After you create a mailbox, you can follow these steps to set it up in Mac Mail:
1. Open your Mac’s Mail app
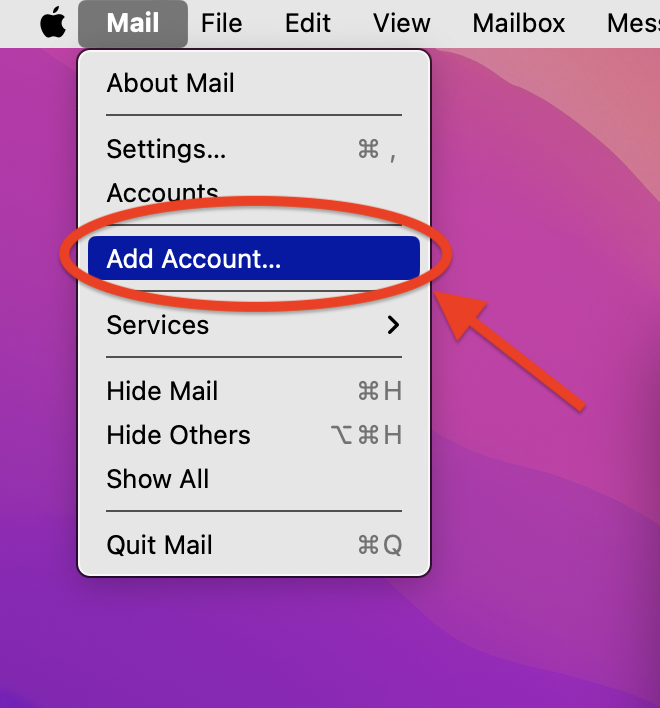
2. In the top navigation bar, click Mail
3. Select Add Account from the drop-down
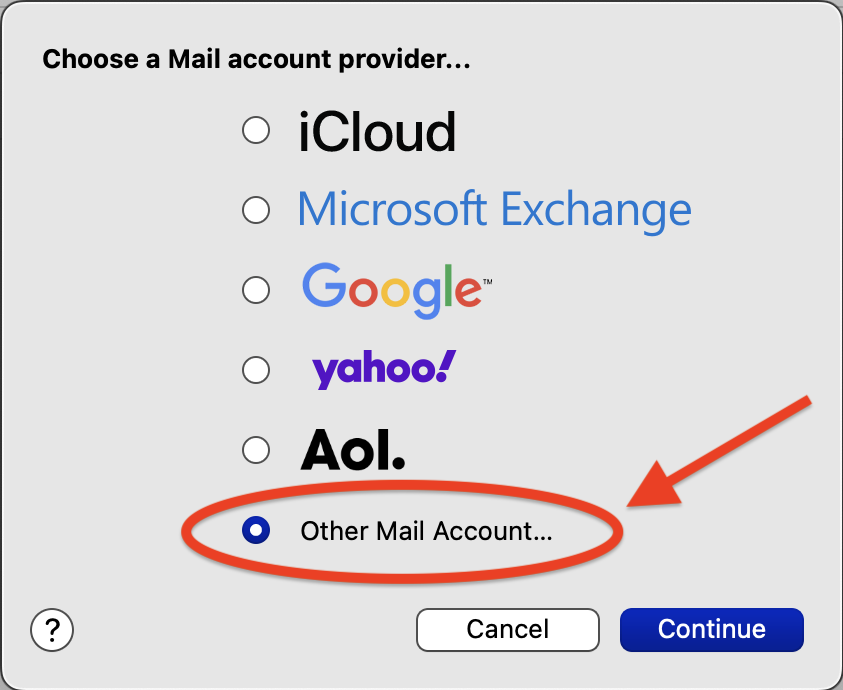
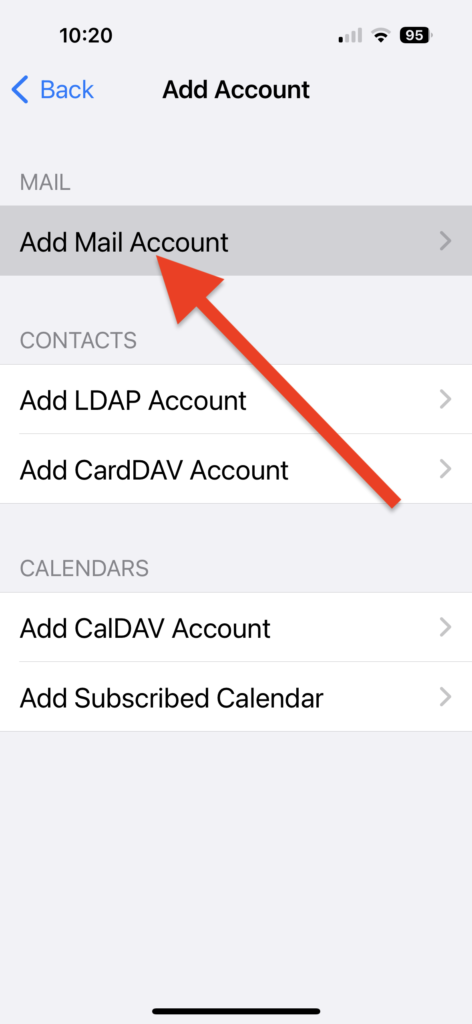
4. Select Other Mail Account, then click Continue
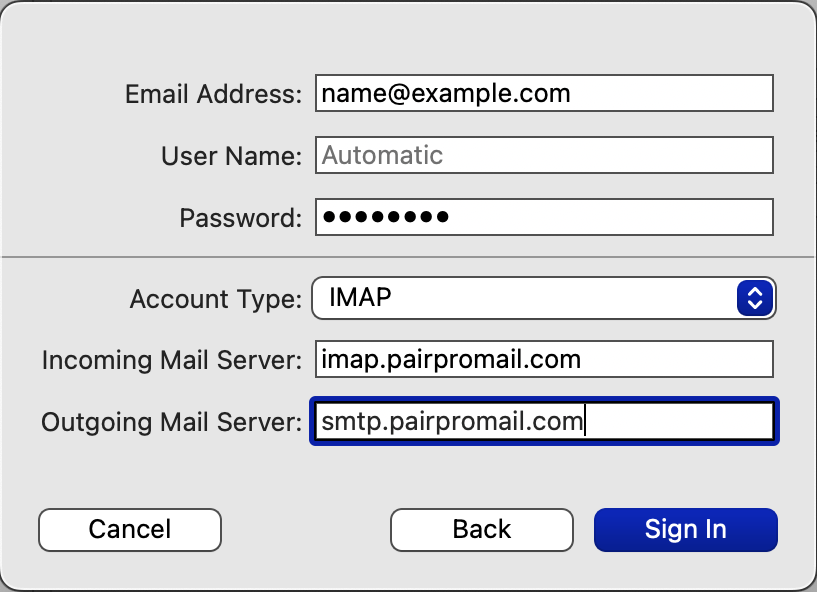
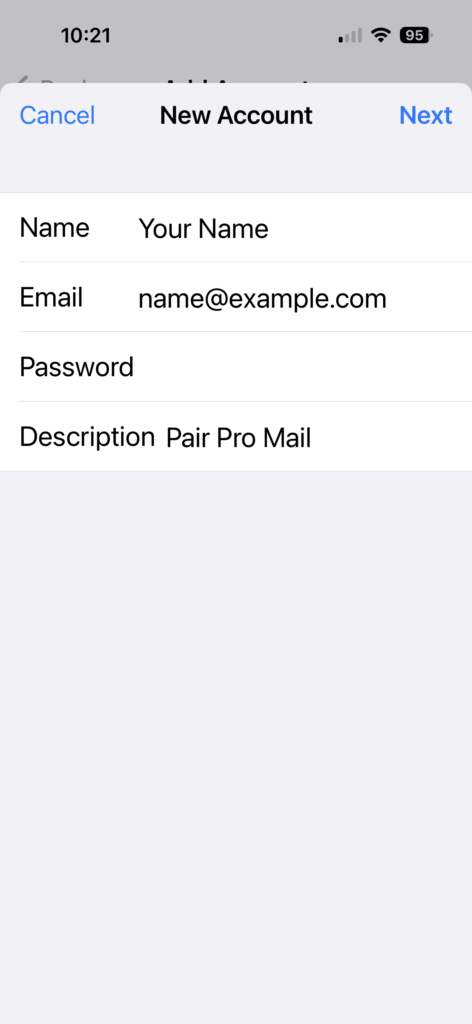
5. Enter the following information:
Name
This name will appear next to your address when you send email
Email Address
This is the email address for the mailbox
Password
This is the mailbox password
6. Click Sign In
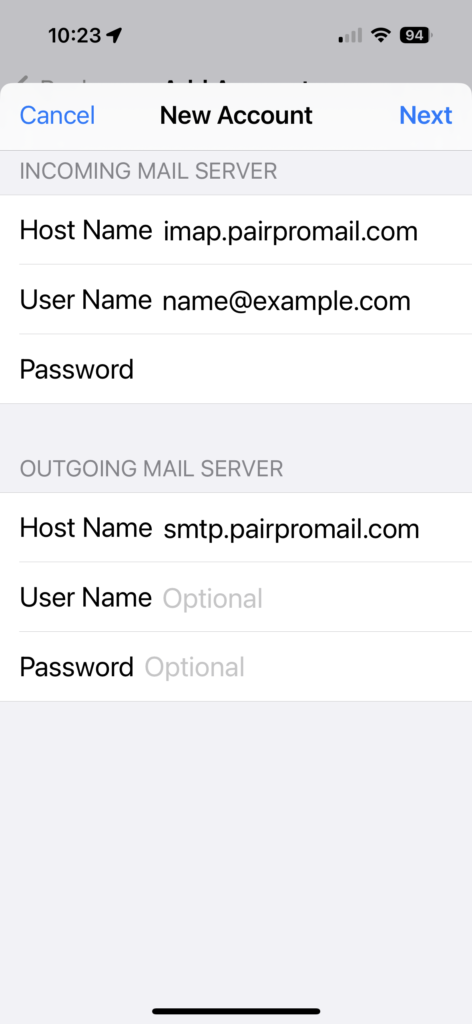
7. Enter the following information:
User Name
This is the email address for the account
Account Type
Choose between IMAP or POP * IMAP: Email is stored on the server and synced between devices * POP: Email is stored on the device and not synced between devices For more information, check out: IMAP vs POP: Which Should You Use?
Incoming Mail Server
If you chose IMAP, use: imap.pairpromail.com If you chose POP, use: pop.pairpromail.com
Outgoing Mail Server
smtp.pairpromail.com
8. Click Sign In
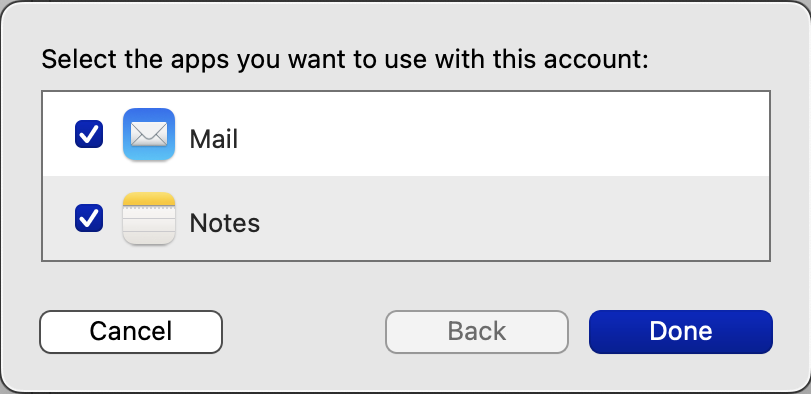
9. Select the apps you want to use with the account
Please visit our Knowledge Base article Adding Pair Pro Mail to Your Domain for steps to add Pair Pro Mail. After you add it, you can set up an email client to access your mailbox, or you can use our Webmail page.
Incoming Mail Server / Hostname If you chose IMAP, use: imap.pairpromail.com If you chose POP, use: pop.pairpromail.com
Outgoing Mail Server / Hostname smtp.pairpromail.com
Ports These are the recommended ports for IMAP, POP, and SMTP: IMAP: 993 POP: 995 SMTP: 465 or 587
Note: Email clients sometimes incorrectly pre-populate email data. We recommend selecting your email client’s manual configuration option and entering your information manually.
Each domain using Pair Pro has a quota of 1 GB per mailbox. So a 1 mailbox plan has a quota of 1 GB, a 3 mailbox plan has a quota of 3 GB, and a 5 mailbox plan has a quota of 5 GB.
If the combined size of the mailboxes exceeds the quota, you be automatically upgraded to add an additional 5 GB of storage. Upgrades continue in 5 GB increments. The cost for a higher quota is $1 per month per 5 GB upgrade.
The upgrade cost will be charged on the last day of the month, and it is based on the quota used on that day.
If you need a small number of mailboxes on your domain, you can use Pair Mail Pro to add one, three, or five mailboxes. If you need more than five, we recommend using a Pair Networks web hosting account for email.
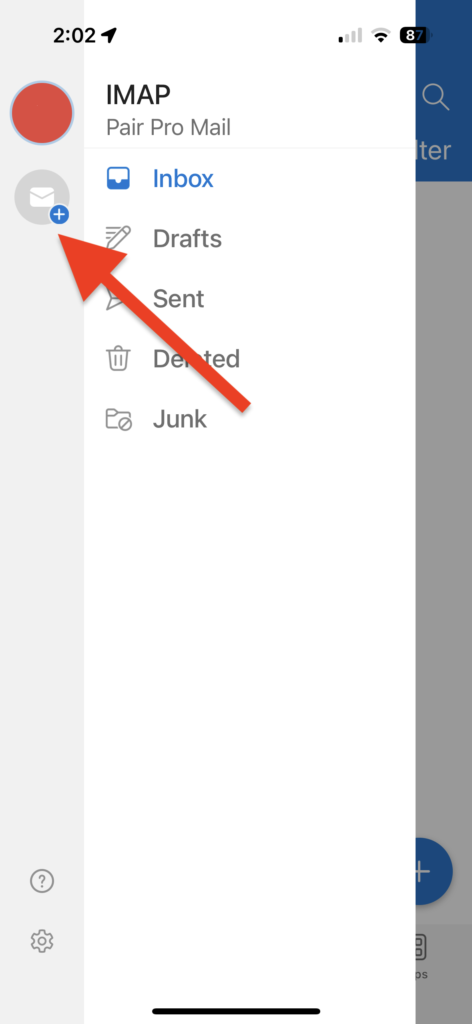
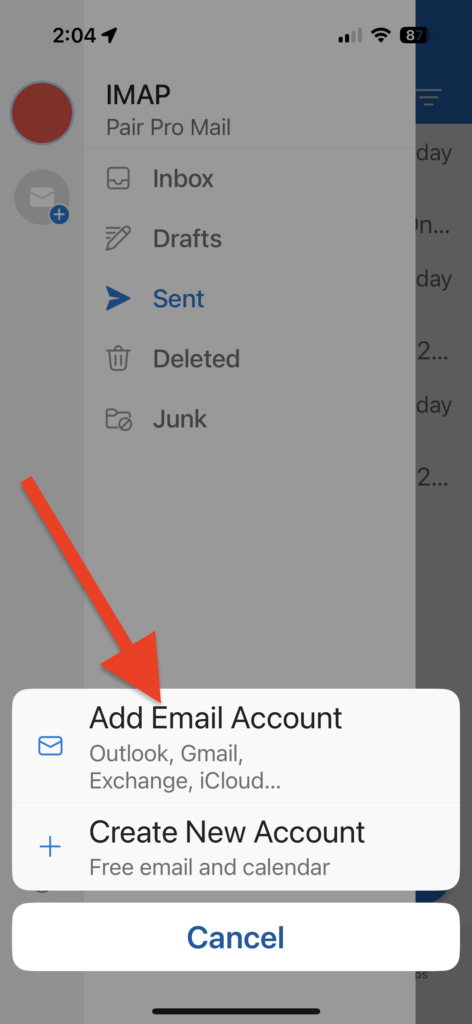
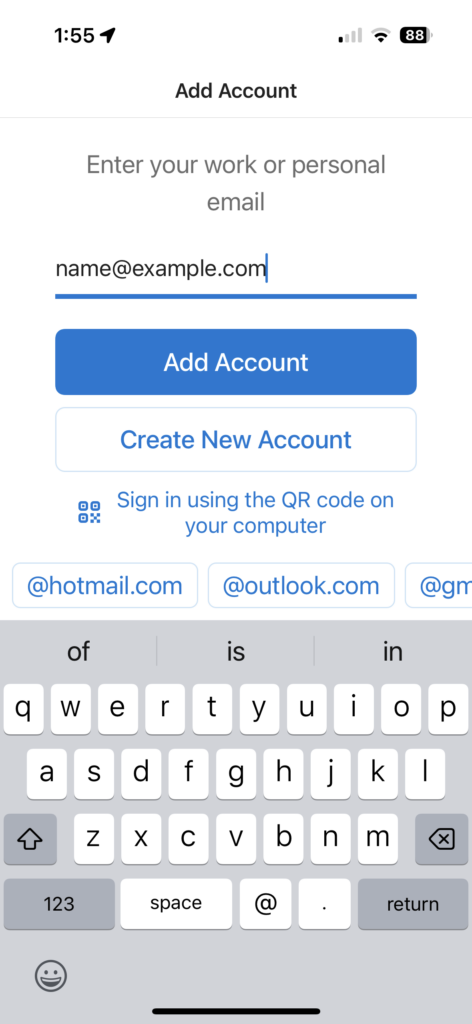
You can follow these steps to add Pair Pro Mail to a domain:
Protecting our customers from abusive email is important to us. That is why we work hard to protect you from spam and viruses when using our Email Forwarding service.
Here are a list of filters that we currently apply to every single e-mail that comes through our Email Forwarding service. Most of these filters happen at SMTP time, meaning that the sender should receive immediate feedback if the email is blocked.
When a sending email server is flagged as abusive by any Pair Networks servers, they are blocked from being able to access the email forwarding servers.
Real-time Blackhole List (RBL) Checking: We check the sending email server against RBL lists from Invaluement. If they flag a server, we block email from it.
Sender Policy Framework (SPF) Checking: If the sender’s domain has an SPF record, we check if the email originated at one of the servers specified in the records. If the record specifies soft failures with “~all”, we add a Received-SPF header to the message. The header indicates the message was scanned and notes whether it passed the SPF check. If the record specifies hard failures with “-all”, any failed email is blocked.
Virus Scanning: We check the e-mail in Clam AV to see if there is a virus or malicious content. Email that has a virus will be bounced with an error, 521 Our system detected malicious content.
Spam Checking: We check for spam using Spam Assassin. First we check against block lists from Spamhaus, Passive Spam, and Invaluement. If the message is flagged by any two of those lists, the email will be blocked with an error, 521 Our system detected spam or links in a DNS blocklist.
After the first check, we do a full check in Spam Assassin. This check will not block the email. Instead it adds X-Spam headers to the email and then forwards the email. Your email program can be set up to filter based on the the headers.
No system is perfect and we can’t guarantee that you’ll never see spam. We are continually refining our filtering process to give you the best possible experience. The list above represents the current filtering in place, and it is subject to change.
In order to avoid abuse of victims of “Joe Job” spam (spam with a forged sender), our system will typically not send mailer daemon bounce message back to the From or envelope sender address of emails.
Please note that most mail services do not distinguish between services that generate spam and the services that merely forward it. In order to protect the reputation of Pair Networks in the global email community, we are unable to disable filtering when using Email Forwarding. We are unable to alter filtering settings for individual customers.
You can receive email on your domain using our Email Forwarding service. We offer it at no extra cost. Forwarding will direct email to a mailbox or mailboxes that you already have.
If you need a small number of mailboxes on your domain, you can use Pair Mail Pro to add one, three, or five mailboxes. If you need more than five, we recommend using a Pair Networks web hosting account for email. The website can be hosted anywhere and the email can be handled on the account. Please see our Knowledge Base pages for these email options:
Directing email to other providers can be handled by adding Custom DNS records. Please contact us if you need help finding the records or creating them.