If you want your Weebly site to be secure, purchasing an SSL certificate is easy.
If you are registering a new domain, select the domain(s), check the SSL Certificate and Weebly Site Builder boxes, choose the certificate and Weebly options, and then Proceed to Checkout. After completing the checkout, use the Click here link to set up your new certificate.
If you already have a Weebly site, you can follow these steps to order a certificate:
Use the Click here link to set up your new certificate .
Setting Up a Certificate
Setting up the certificate for a Weebly site is almost entirely automatic. We take care of the Certificate Signing Request (CSR) and the Domain Control Validation (DCV), so you just need to select the domain and order:
Under Certificate Purpose, select I want to use this cert with my Weebly site at Pair Domains, select the domain, and click Submit.
Under Key Generation and DCV Selection, you can just click Submit.
Click Order.
Within ten minutes, you should receive an email from us confirming that the certificate has been installed, and your Weebly site is now secure.
Additional Information
A Certificate Signing Request (CSR) is a file that contains information that is used when generating an SSL certificate. It will contain information about the domain name and a public key that is used to encrypt information. When adding SSL to a Weebly site, we automatically generate the CSR. For security reasons, we delete our copy of the private key 30 days after the certificate is issued.
Domain Control Validation (DCV) is used to make sure that the request for a certificate comes from an authorized administrator of a domain. When adding SSL to a Weebly site, we automatically validate by adding a CNAME record to the domain.
Whenever you make changes to your site in the Weebly Builder tool, they do not become effective until you publish them.
You can publish from within the Weebly Builder by clicking the Publish button or the Re-publish Site in our Weebly Site Settings page. Both work identically and will replace the current website with the most current one that you have built using the Weebly Builder tool.
The site name represents the title of your site as used by the site builder. By default, the site name will be set to the name of your domain name, but it can be anything you want. For example:
• My cooking blog • Family vacation photos • Wizbang company, LLC
You can follow these steps to change the Site Name:
Under Site Name, type the new name in the text box.
Click Save.
Changing the site name will update the title within the Weebly site builder while updates made there will be reflected in the Weebly site management screen.
Use the cancel option whenever you wish to discontinue service. Once your plan is canceled, your site will no longer operate.
Refunds: The purchase of a paid plan can be fully refunded within the first 14 days. However, upgrades cannot be refunded. So if you purchase a plan, do not upgrade it, and cancel it within 14 days, the cost will be refunded.
If you start with an Included plan and upgrade to a paid plan, or if you change from one paid plan to another, we are not able to offer a refund, even if plan is canceled within 14 days.
After 14 days, we cannot give a refund.
Time remaining: Once your site is canceled, all time remaining will be voided. If you no longer require your web site, but still have time remaining on your plan, we recommend you re-assign the site to a different domain name in order to use up your time.
Reactivating a canceled site: To reactivate a canceled site on a domain name, you must sign up for a new site on the same domain name. If your old site data is still available, we will attempt to restore it automatically for you. Please note that unused time from a canceled site plan is not restored.
You may choose to have your Weebly site automatically renewed on a monthly basis or yearly basis. When automatic renewal is enabled, we will attempt to charge the payment source you specified 5 days prior to the expiration of the Weebly site.
If you do not enable automatic renewal, you will need to log in and manually renew your site. If the site expires, service may be disrupted until the site is renewed again. After a post-expiration grace period, your site may become unrecoverable.
You may change your automatic renewal settings at any time, but they may not take effect until the following day.
The site plan level determines which features are available to you. Four levels are offered:
Included: Entry-level plan, comes with your domain name registration. Limited to 5 pages. Includes Pair and Weebly branding in the site footer. Shopping cart available (transaction fees apply), limited to 5 products.
Starter: Unlimited pages. Able to remove branding from the footer. Shopping cart limited to 10 products.
Pro: Includes the features of the Starter plan and adds multimedia hosting, password-protected pages, site search, and access to the Weebly App Center. Shopping cart limited to 25 products.
Business: Includes the features of the Pro plan and adds the ability to sell digital goods. It includes a secure site certificate included at no cost. Shopping cart with unlimited products and reduced transaction fees.
Performance: Includes all the features of the Business Plan and adds additional e-commerce features, including the ability to use PayPal.
More details and pricing can be found on our website.
What happens when I change my plan?
Whenever you change your plan, you are cancelling your old plan and enrolling in a new one. Any unused time on your old plan will become expired and your new plan will become active for the amount of time you have selected. You may be eligible for a credit towards your new plan depending on your old plan.
Your web site will be in one of the following statuses:
Active: Your web site is live and viewable to the entire Internet. (*)
Inactive: You may edit your web site using the site builder tools, but nobody will see the changes you make. This is helpful if you are migrating from another host or setting up a new site and do not want anyone to see your site until it is ready. If you are unable to reactivate an inactive site, please verify the site is not expired.
Canceled: Service has been discontinued. It is no longer possible to edit or view the site. Canceled sites will not appear in the management interface. If you wish to resume service, you will need to purchase a new site plan. In some cases, we may be able to recover your old design.
Expired: Your site is past the expiration date and either there was a problem charging your payment source, or you did not have automatic renewal enabled before it expired. Service has been discontinued and it will not be possible to view the site. Service can be restored by clicking the Renew button.
(*) Sometimes, changing a site status may involve updating your DNS settings. When this happens, it may take several hours before your site is viewable to the entire Internet. Browser cache settings may also increase the delay.
Each Weebly site must be assigned to a single domain name. If your domain is “example.com”, then your Weebly site will operate if anyone on the Internet browses to “example.com” or “www.example.com”.
Custom DNS must be enabled on the site for the Weebly site editor to work properly. Whenever you activate Weebly, we will turn this on for you. This may involve changing your DNS server information. In order to disable custom DNS, you will need to cancel your Weebly site or reassign it to a different domain name.
Pointing multiple domain names to the same site
Pick one domain as the primary domain that will be assigned to the site. Then you can use our URL Forwarding feature in the custom DNS interface to point the other domain names to your primary domain:
If Custom DNS is already on, click Edit DNS. If Custom DNS is not on, click Use our DNS, and confirm changing the name servers.
Click Forwarding.
UnderNew Forwarding, enter the primary domain in the Target field, and click Add Forwarding.
Reassigning a site
You may move a site between domain names on the same account. When you do this, your site plan, expiration date, and billing information will remain unchanged. We will automatically update DNS on the new domain to point to your site and remove DNS information about the site from the old domain name.
All Weebly plans have unlimited storage. However, there are limits on the size of individual files that can be uploaded:
Included plan: Maximum file size is 10 MB
Starter plan: Maximum file size is 100 MB
Pro plan: Maximum file size is 250 MB
Business plan: Maximum file size is 1 GB
Performance plan: Maximum file size is 1 GB
As long as each file is smaller than the maximum file size, you can upload as many as you want to. As an example, somebody with an Included plan could upload unlimited 9 MB files, but uploading a file larger than 10 MB would require upgrading to a Starter plan.
Weebly is a first tier site builder that is available at no additional cost for any domain registered with us. You don’t need to know anything about building websites and you don’t have to install any software. You can have your website up in minutes using a powerful drag and drop web site builder with amazing pre-built themes.
We offer several plan levels, but the default that is available to everyone at no extra cost is the Included Plan. You can create up to five pages, and use an integrated shopping cart for up to five different products. There are no bandwidth fees or storage fees.
If you need more pages or more options, you can view information about the other plans on our website.
You can also watch some tutorial videos in the Pair.com Youtube Channel.
The steps to launch Weebly will be a little different, since the steps in the videos are for pair.com Weebly hosting plans. The steps to launch Weebly for Pair Domains are below.
Launching Weebly
To use Weebly, you don’t need to sign up for a new account, you can just log into your Pair Domains account:
Under the Add a New Site section, select the domain you want to use, and click Get Started
Select to use the Included plan, and click Continue
Click the name of the site from Step 2
Click Launch Weebly Builder
As long as you did not uncheck Keep Old Site Active in Step 3, your current website will stay active until you are ready to make your Weebly site active.
First Launch
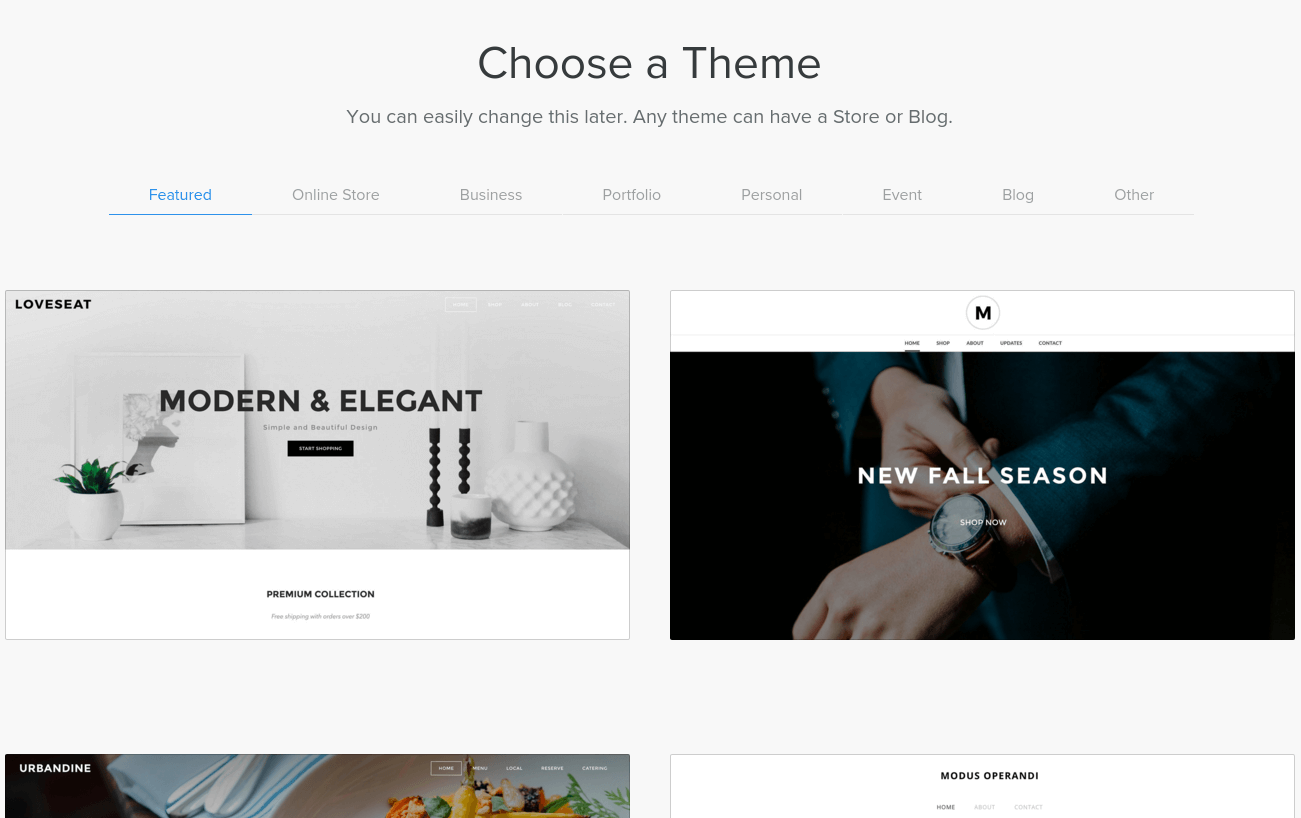
The first time the Site Builder is launched, you will be prompted to choose a Theme. A Theme is a template for the layout, navigation, and appearance for a site. You can change images, texts, colors, and other attributes of a theme. Themes are tailored for the type of site you are building, and there are a few categories of Themes:
Featured
Online Store
Business
Portfolio
Personal
Event
Blog
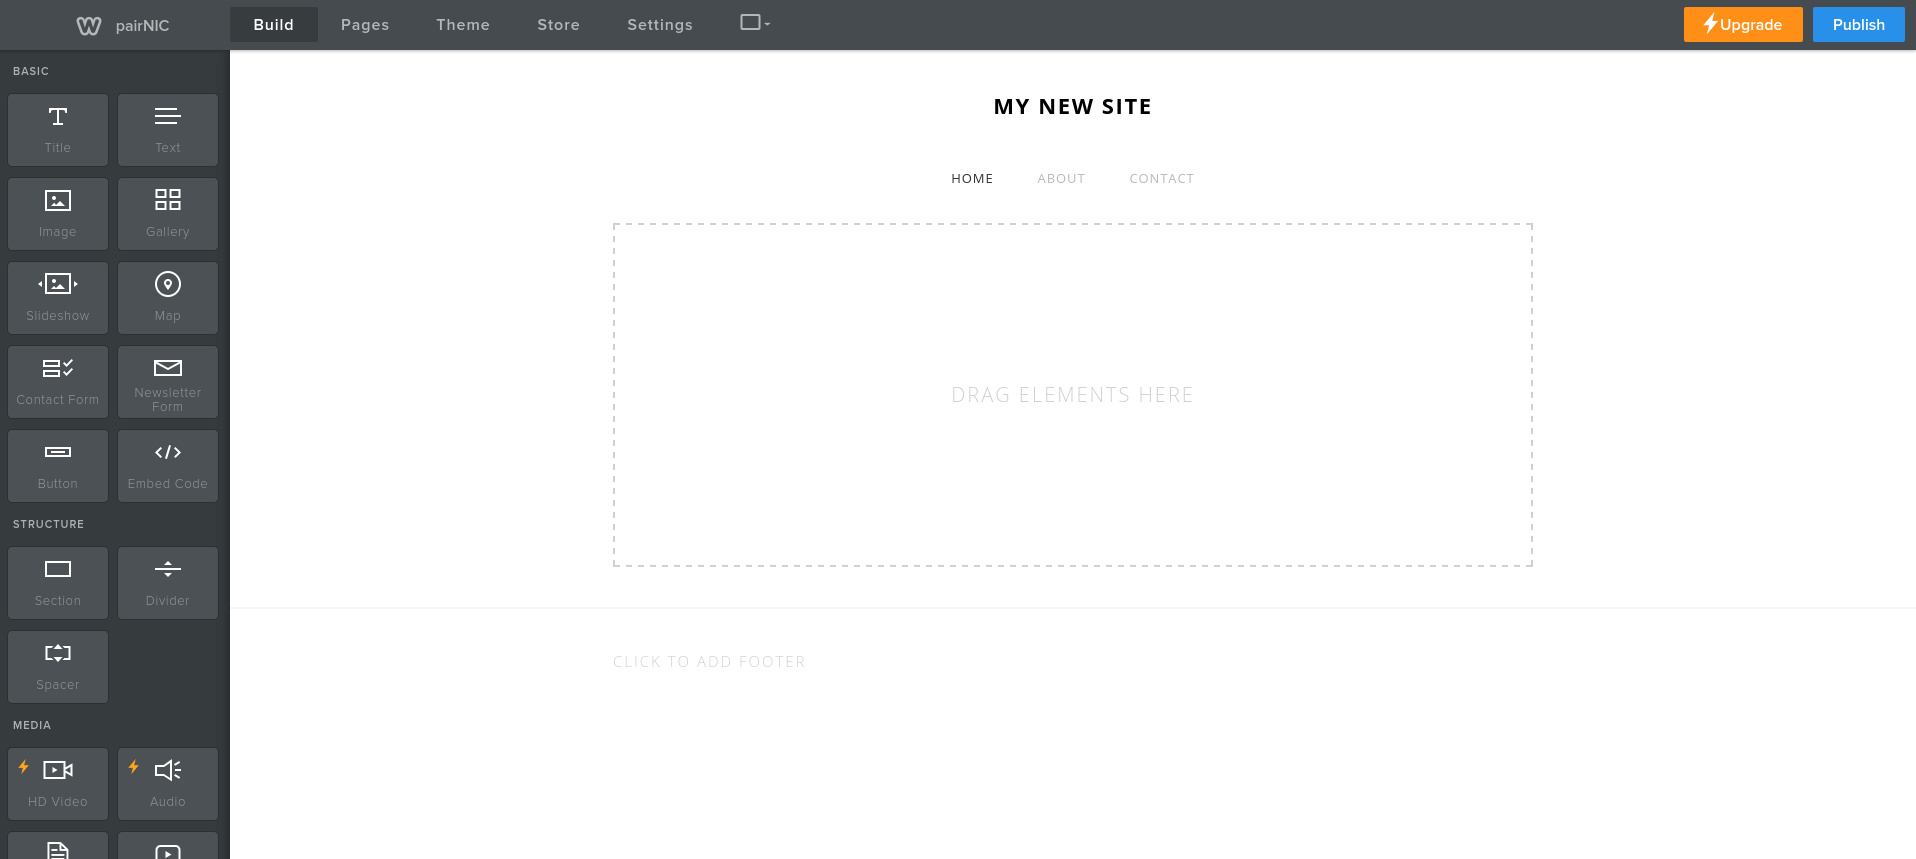
Once you select a theme, an editable preview of your site is shown, with menus at the top of the page and on the left of the page.
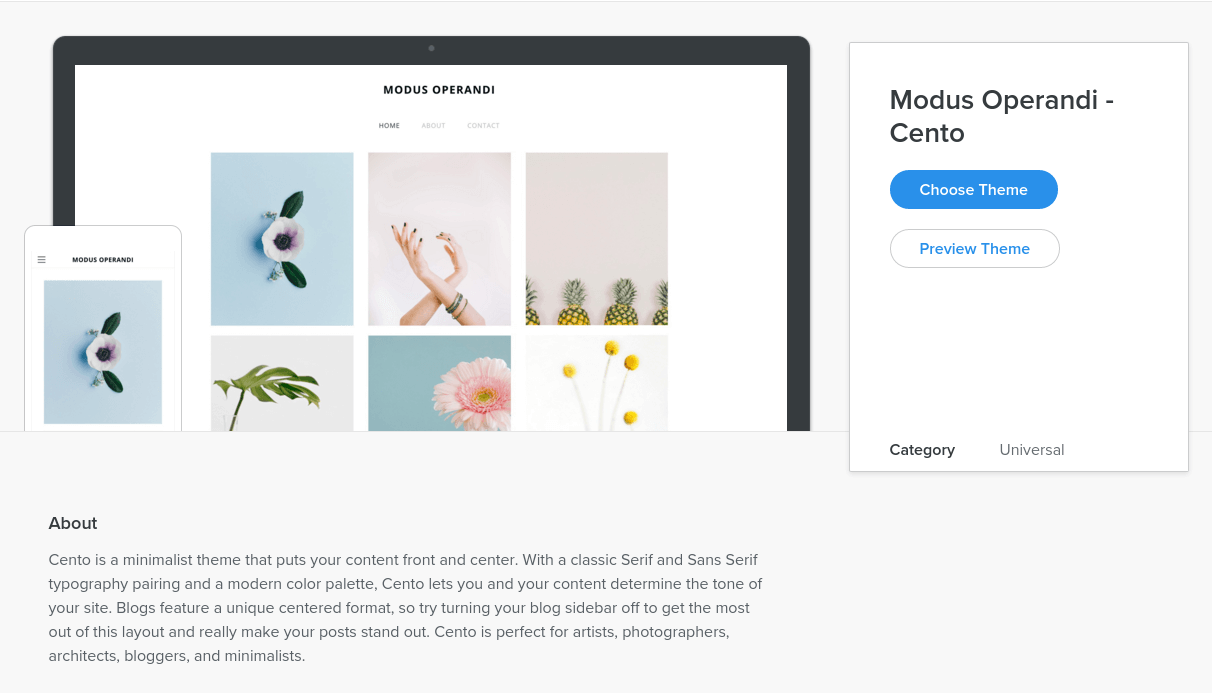
For example, we started with the Modus Operandi – Cento theme. The Title of the page is your domain. You can change it by clicking the title and changing the text.
Underneath is the site menu, which lists the pages that make up your site. You can add, delete, or change the menu by clicking the Pages tab from the top menu.
Below the site menu is the content area. To add content, you can drag and drop content from the menu on the left.
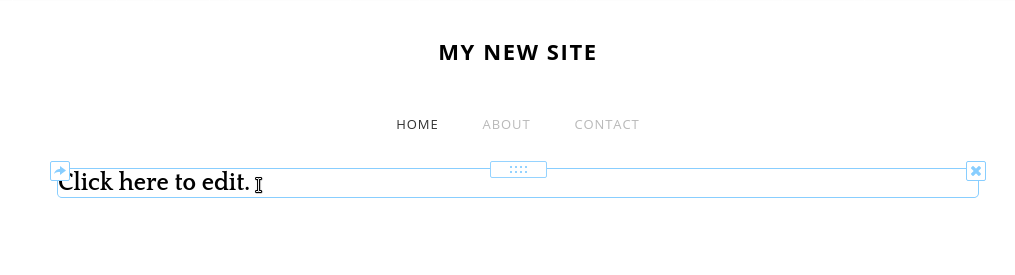
If you want to add text to this section, you can drag the Text button to the highlighted area. You can then enter the text at the cursor. If you want to move the text, you can hover your mouse over the text area to move or delete it.
To edit the text, click the Click here to edit and a cursor will appear. Similar to the title, click outside the area to stop editing it.
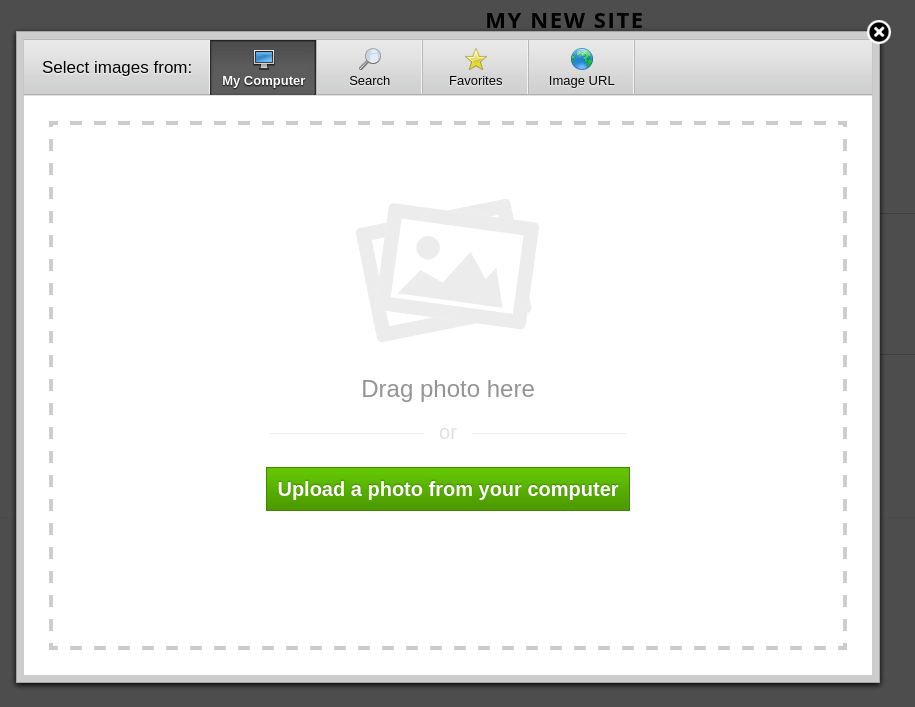
To add an image, you can drag Image from the left menu. Then you can click Upload Image to upload from your computer.
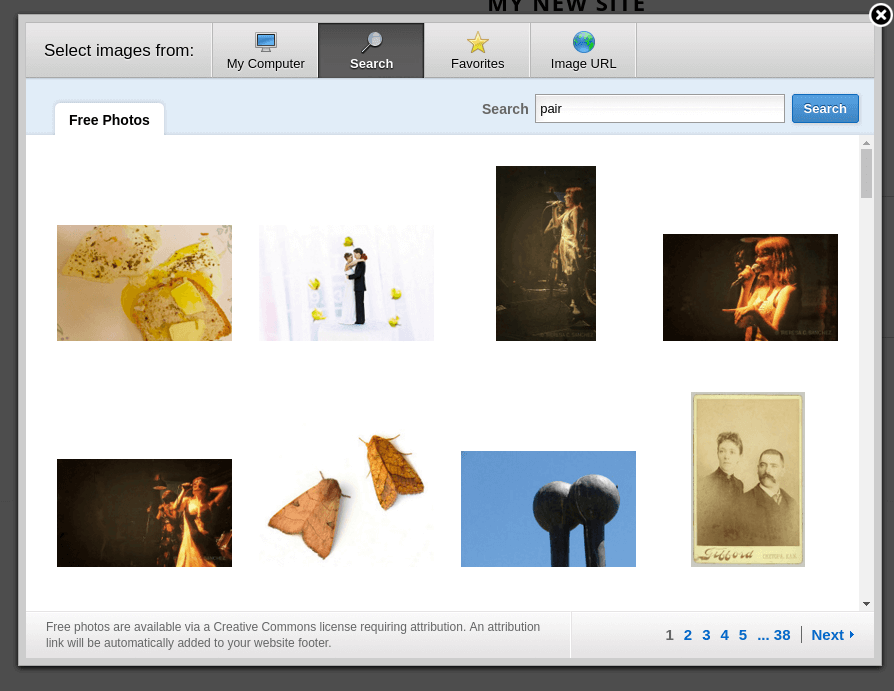
Weebly also provides some stock photos that you can use. To see them, click the Search tab and then search the type of image you are looking for.
If the image is one you may want to reuse on sections of your site, you can hover your mouse over the image, then select Add to Favorites. You can then click on the Favorite tab to access this image more easily.
Finally, if you have already uploaded the image online and know the URL, you can reference it from here. When the site is published, though, the image will be uploaded under the Web space associated with your site.
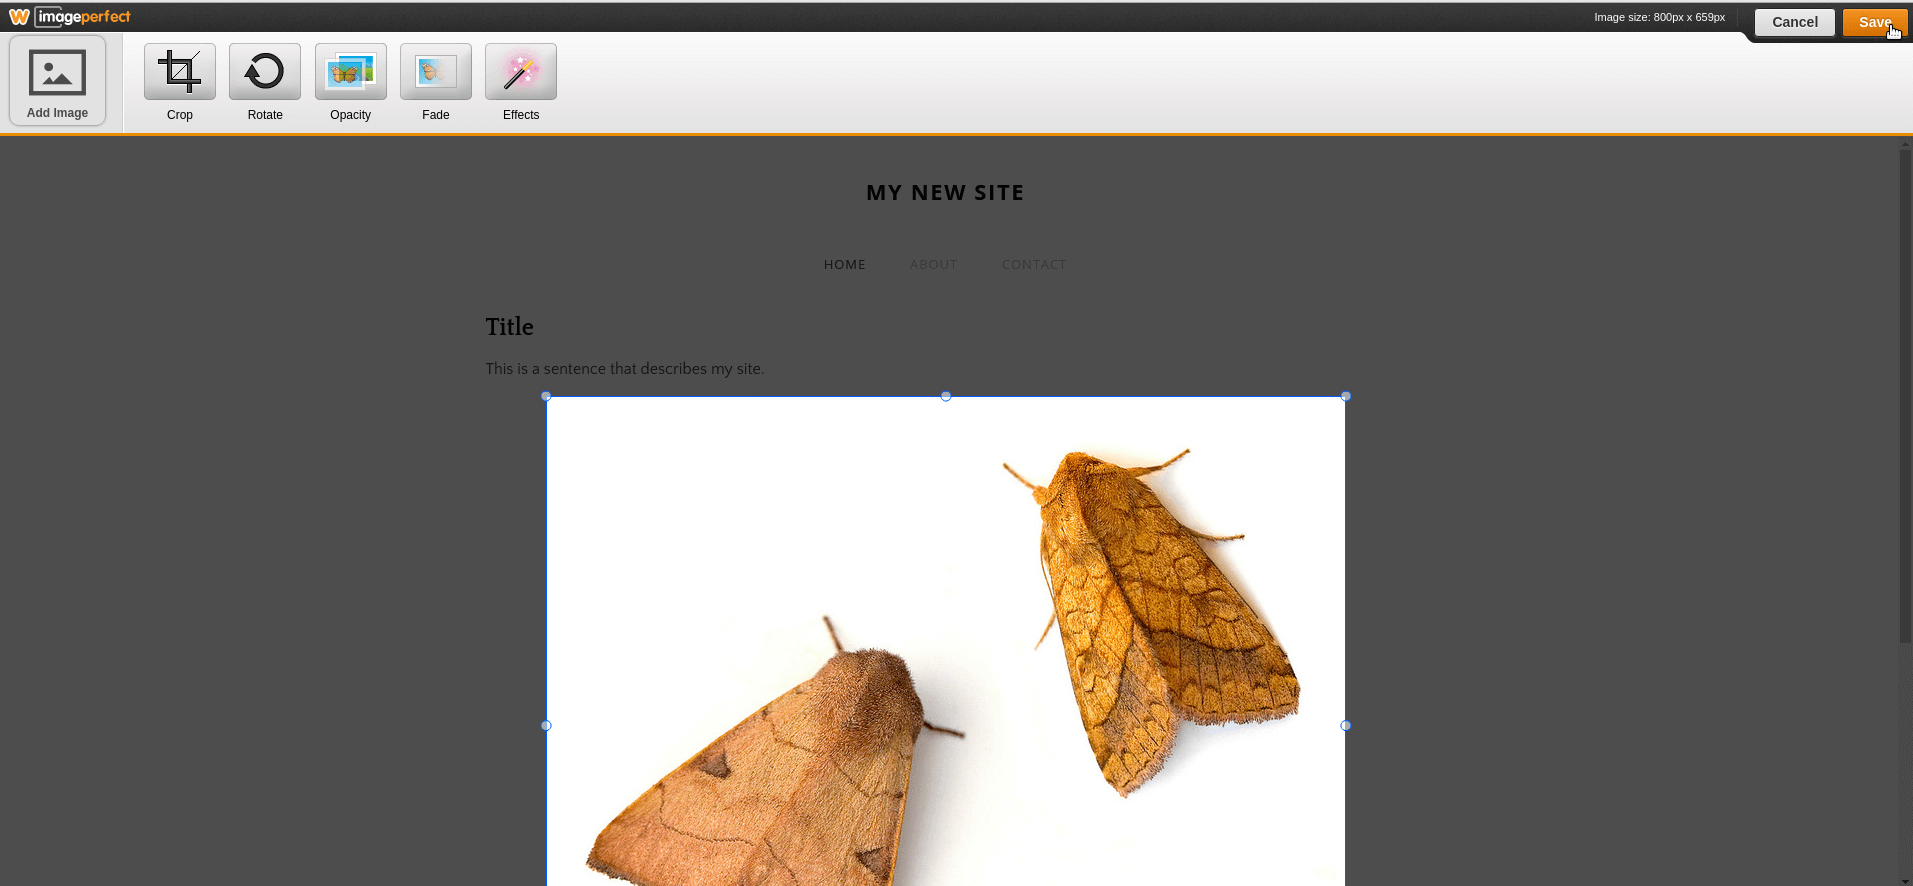
After an image is uploaded or added, you can click it to change attributes. You can click Edit image to crop, rotate, or add image effects.
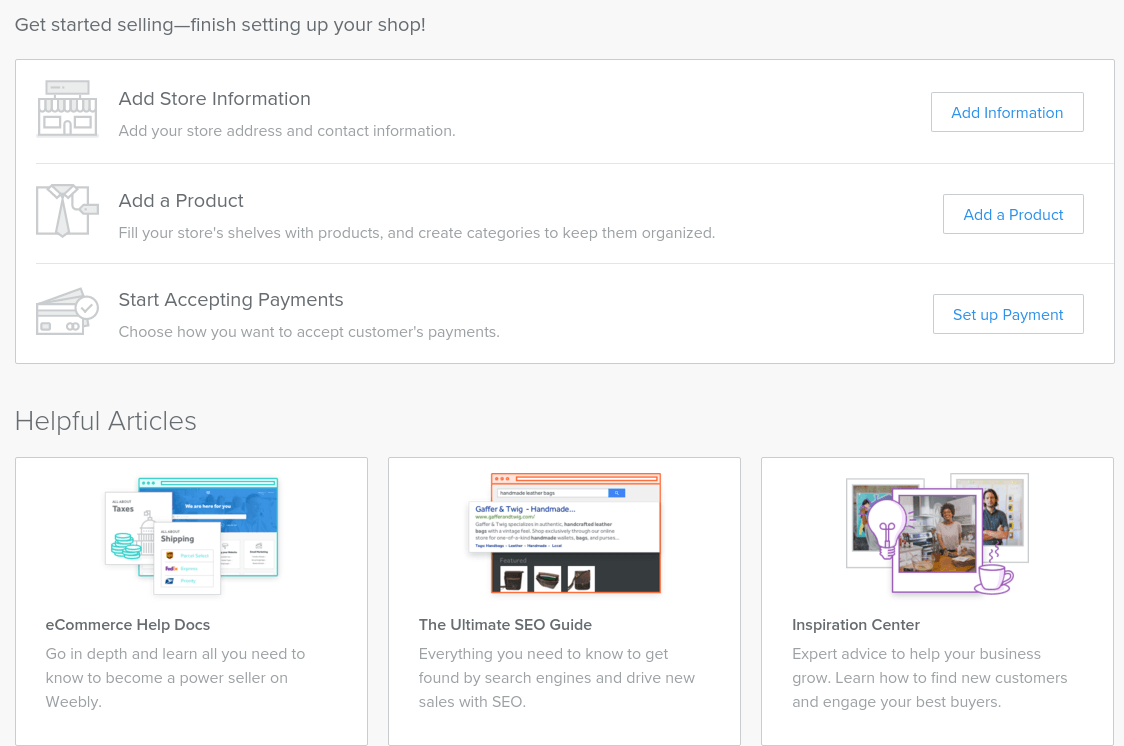
If you need to set up an online store, you can add store information, products, and payment information from the Store tab at the top of the window.
Weebly saves your changes while you work, so you don’t need to click any Save buttons.
When you are ready to publish your site for the first time, you can click Publish. Then return to your Pair Domains account and view the Weebly Site Settings page for your domain. Select Activate from the Status menu, and click Save. You will see a warning message noting that name servers for your domain will change. If you never set up name servers for it, you don’t need to worry about this. However, if you previously had web hosting or email set up for your domain, please contact us so we can help to make sure your email doesn’t stop working when you Activate the site.
After you Activate the site, the Weebly site will be live. If you make future changes in Weebly, then you can click Publish in the Weebly Site Builder or Re-publish Site in our Weebly Site Settings page.